


Frequently asked questions
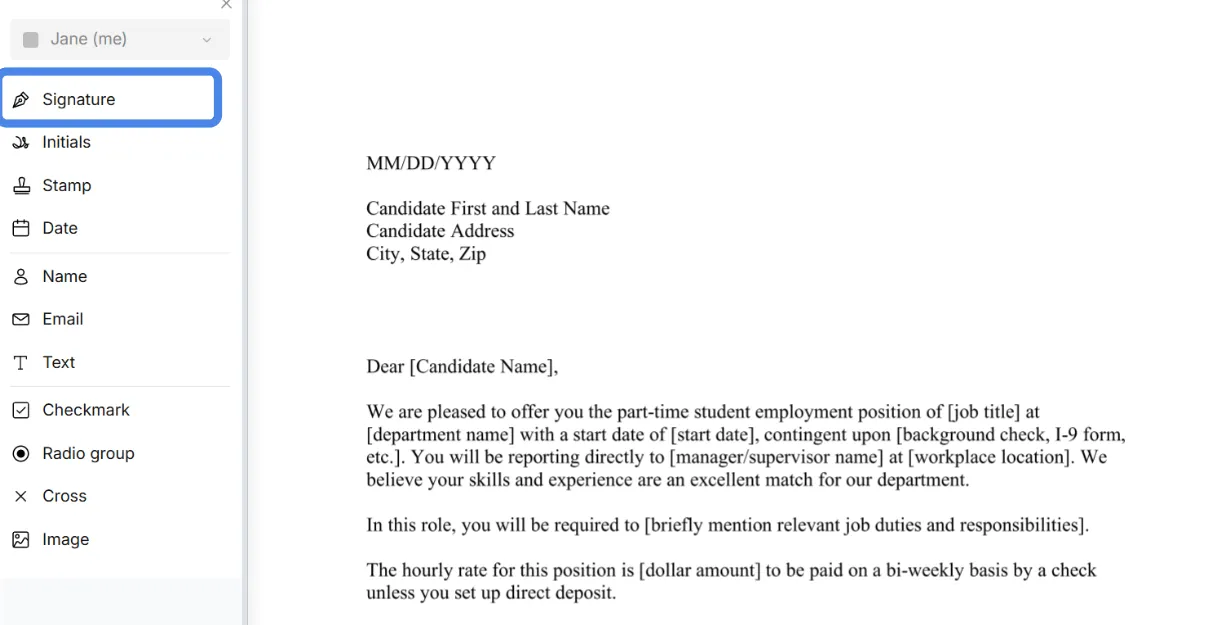
How do I add a logo in my letterhead?
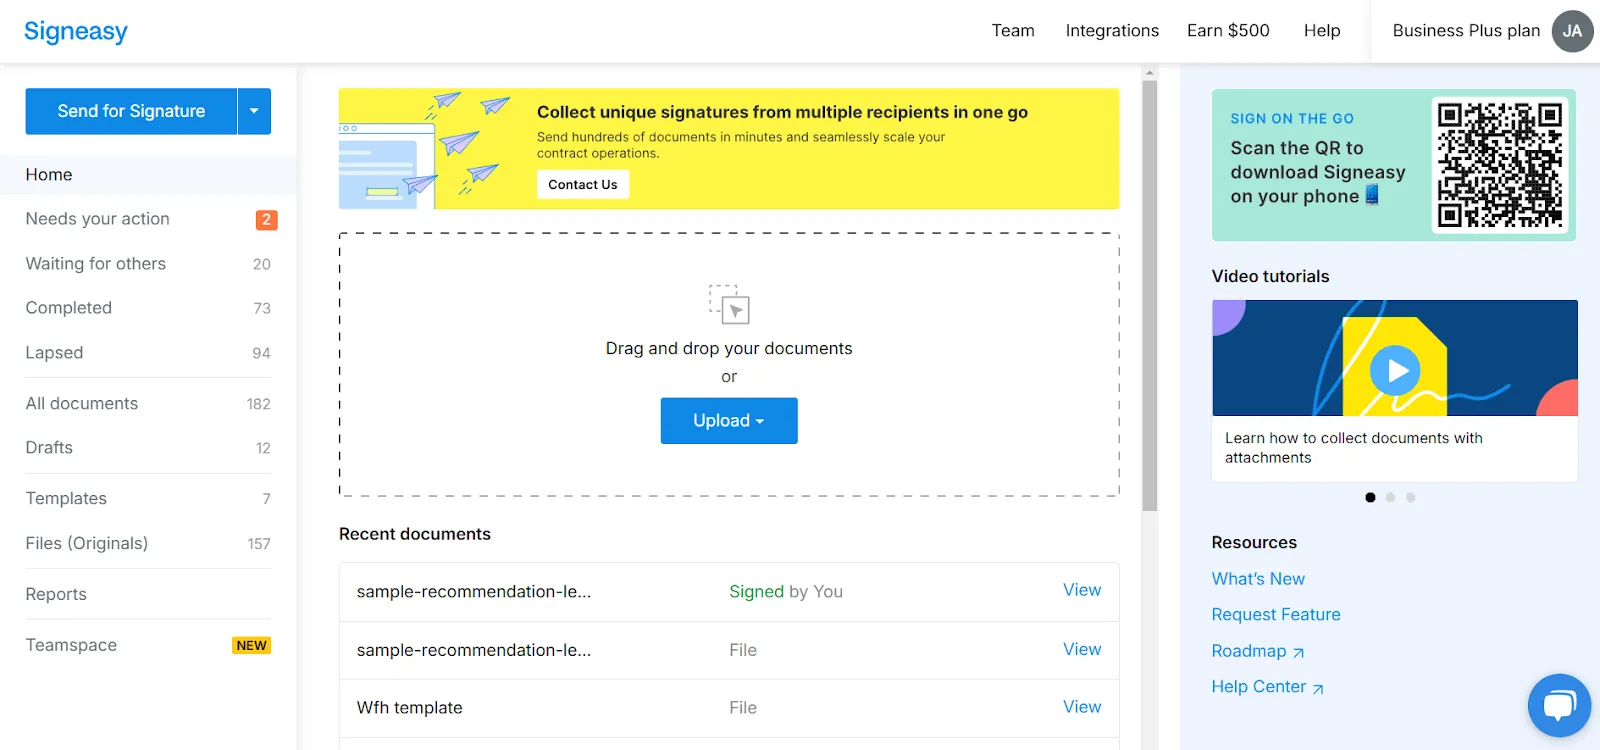
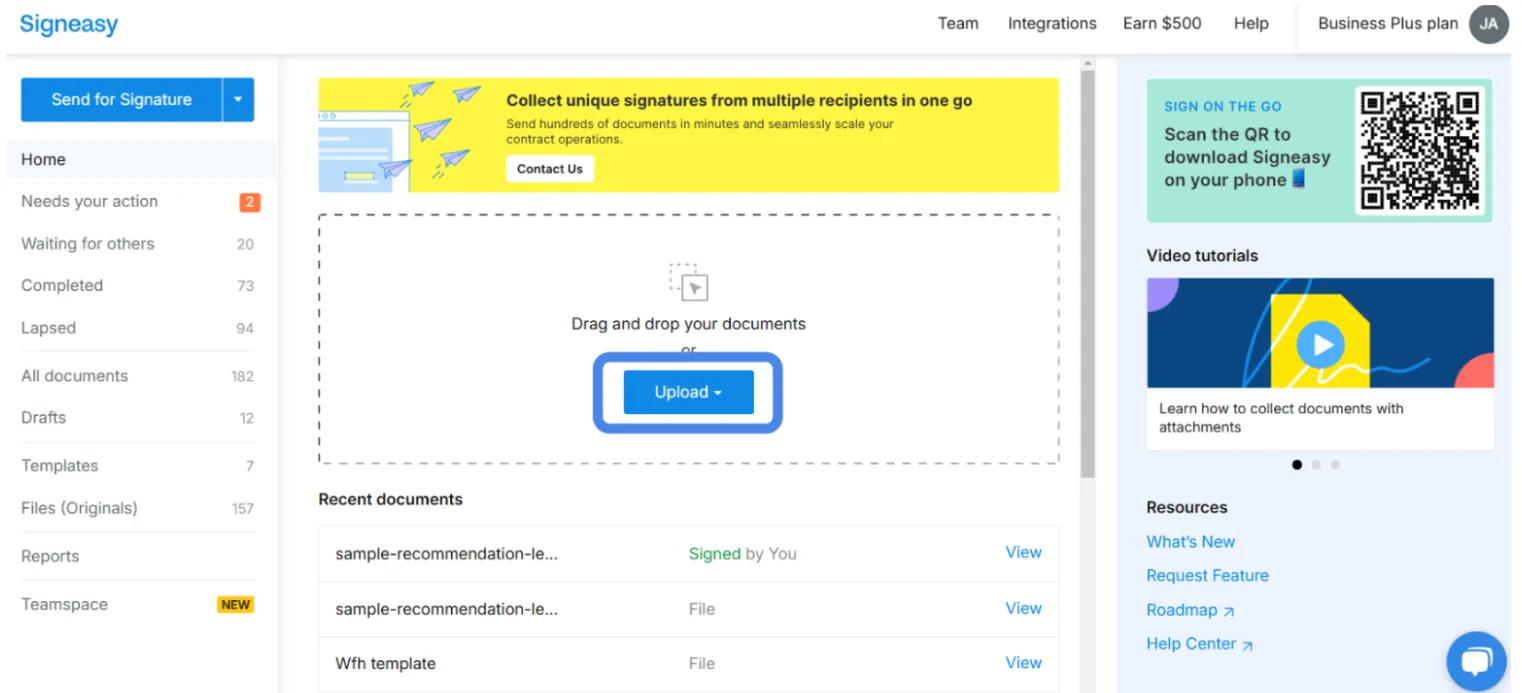
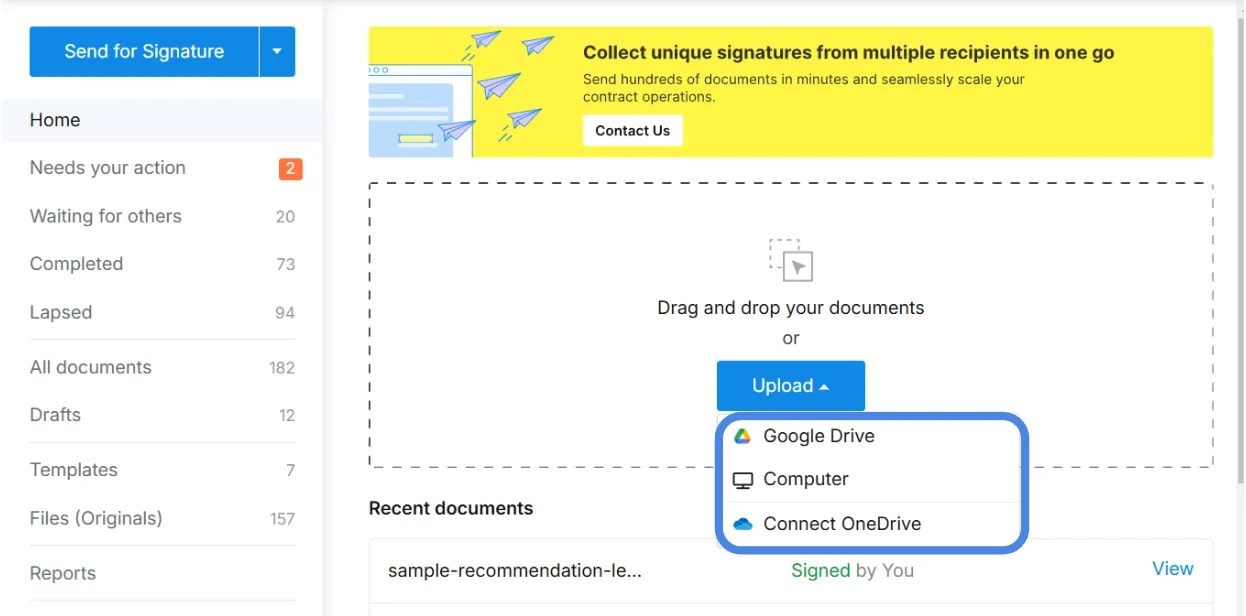
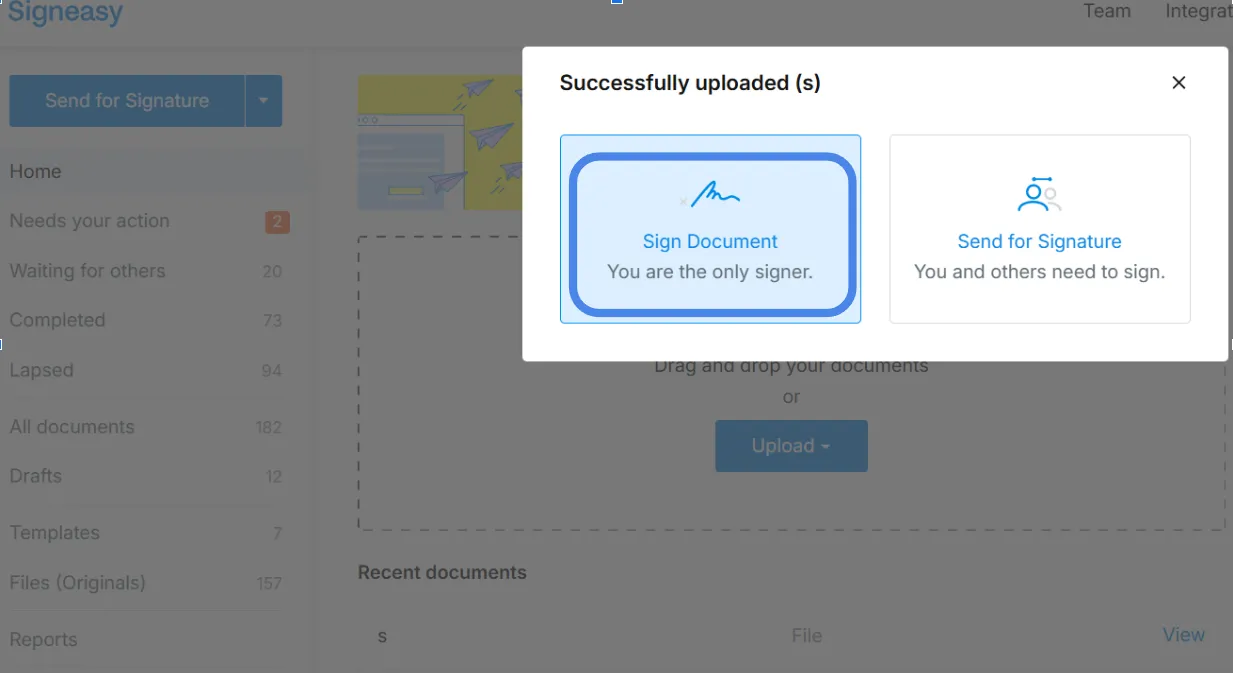
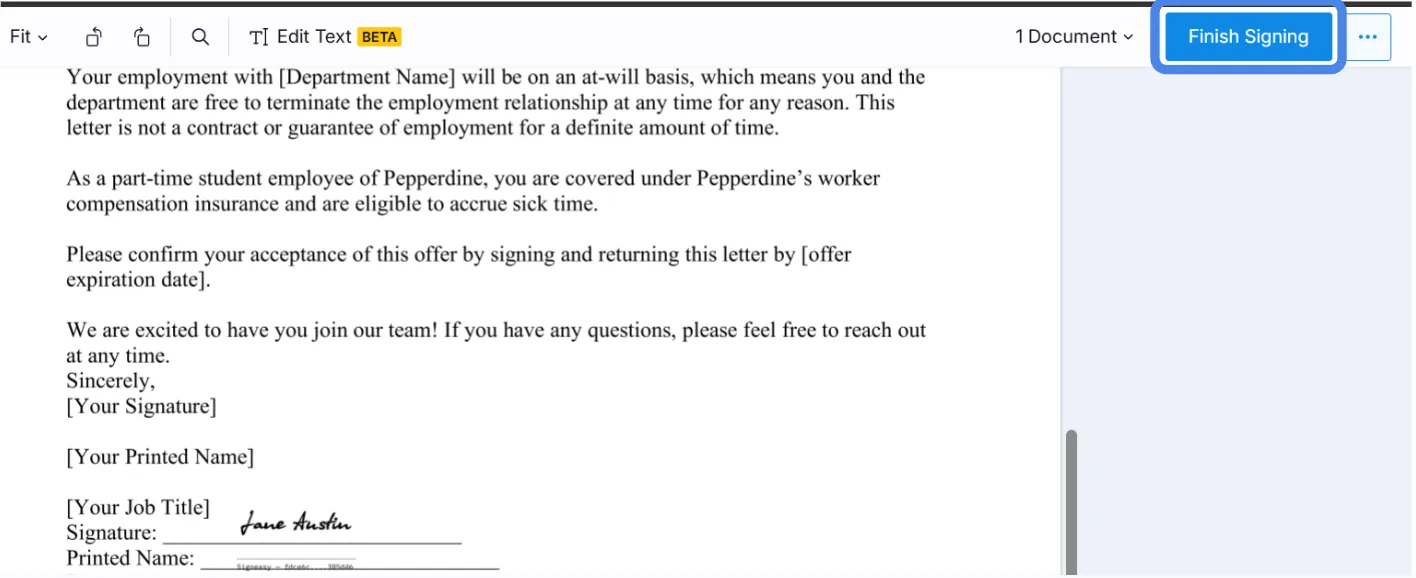
To add a logo in your letterhead using Signeasy, upload the document and use the Image field to place your logo in the desired spot. You can also add your signature to the same document using the available signature options. Once everything is in place, save or send the completed letterhead as needed.
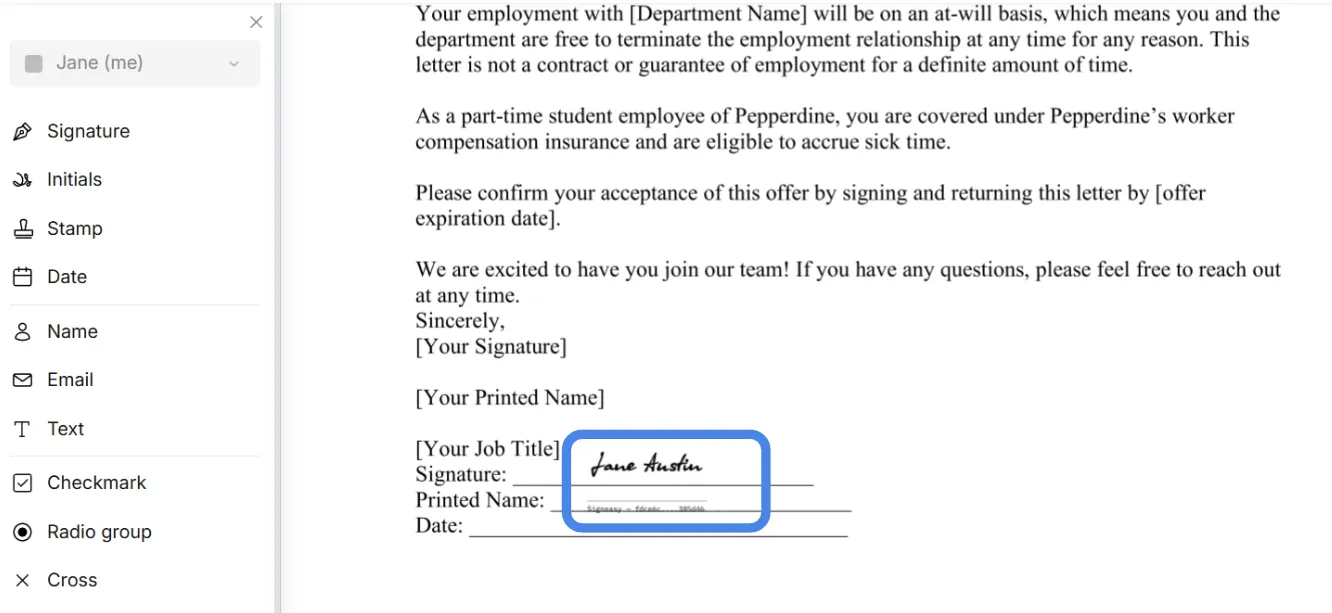
How do I insert a logo in a document?
You can insert a logo in your document using an eSignature platform like Signeasy. Simply upload the file, choose the Image field option, and place your logo wherever it’s needed. If you're working on a branded letter or form, you can also add your signature before sending or saving the document.
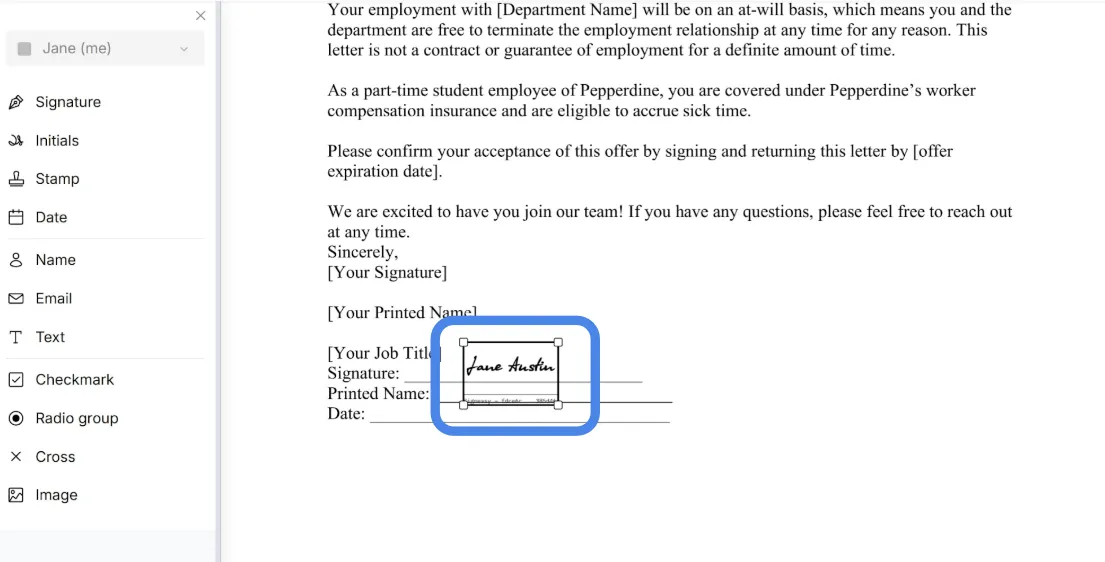
How do you insert a symbol in your document?
A symbol can be anything from a checkmark or currency sign to a company stamp. If you're using an electronic signature platform like Signeasy, you can insert symbols using the Text field by copying and pasting the character. If you're adding a stamp or seal, Signeasy offers a dedicated Stamp field where you can upload and place it in the document.
.webp)

