How to generate eSign

Start Free Trial

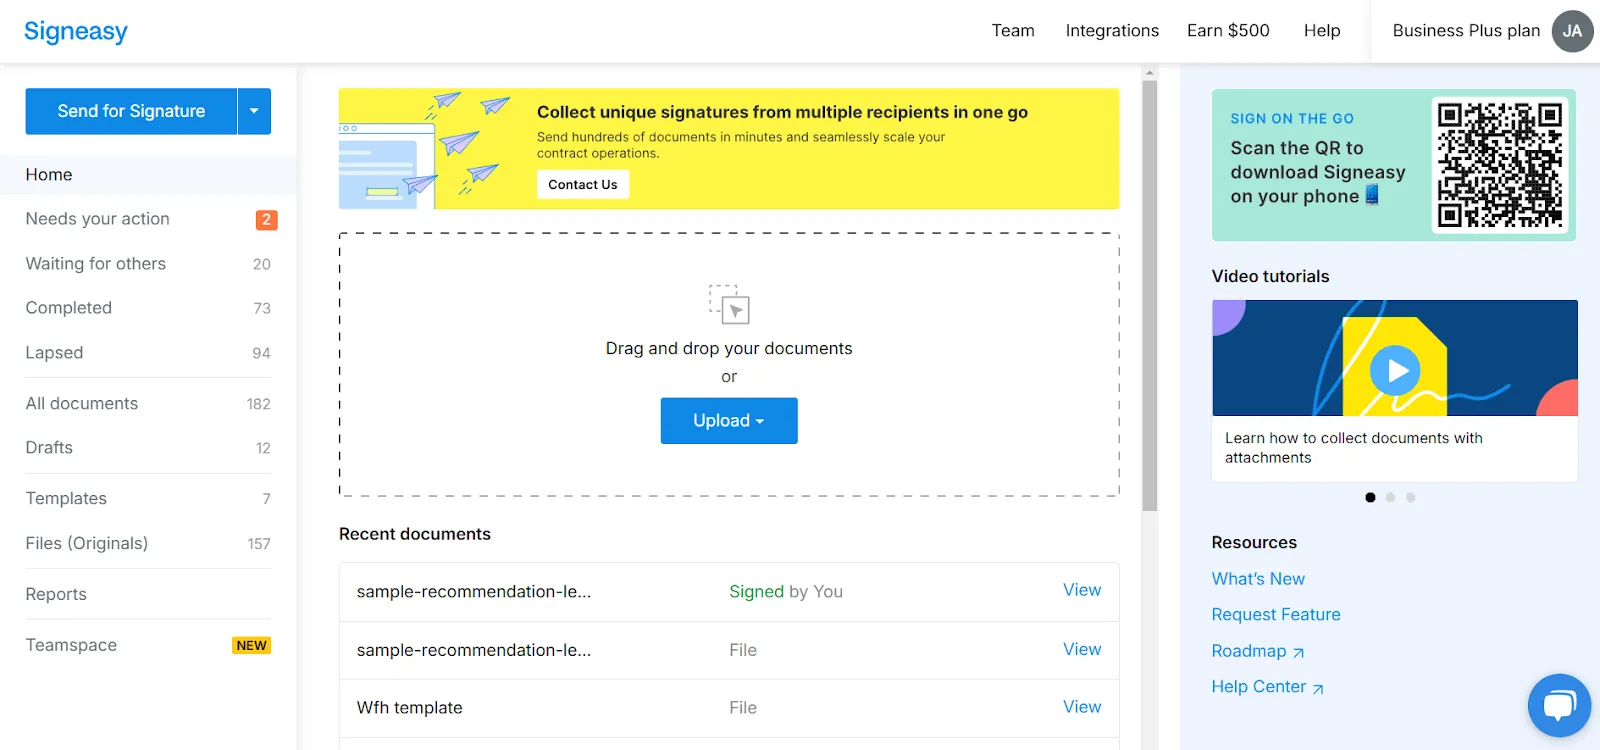
1. This guided demo shows how to generate esign using Signeasy.

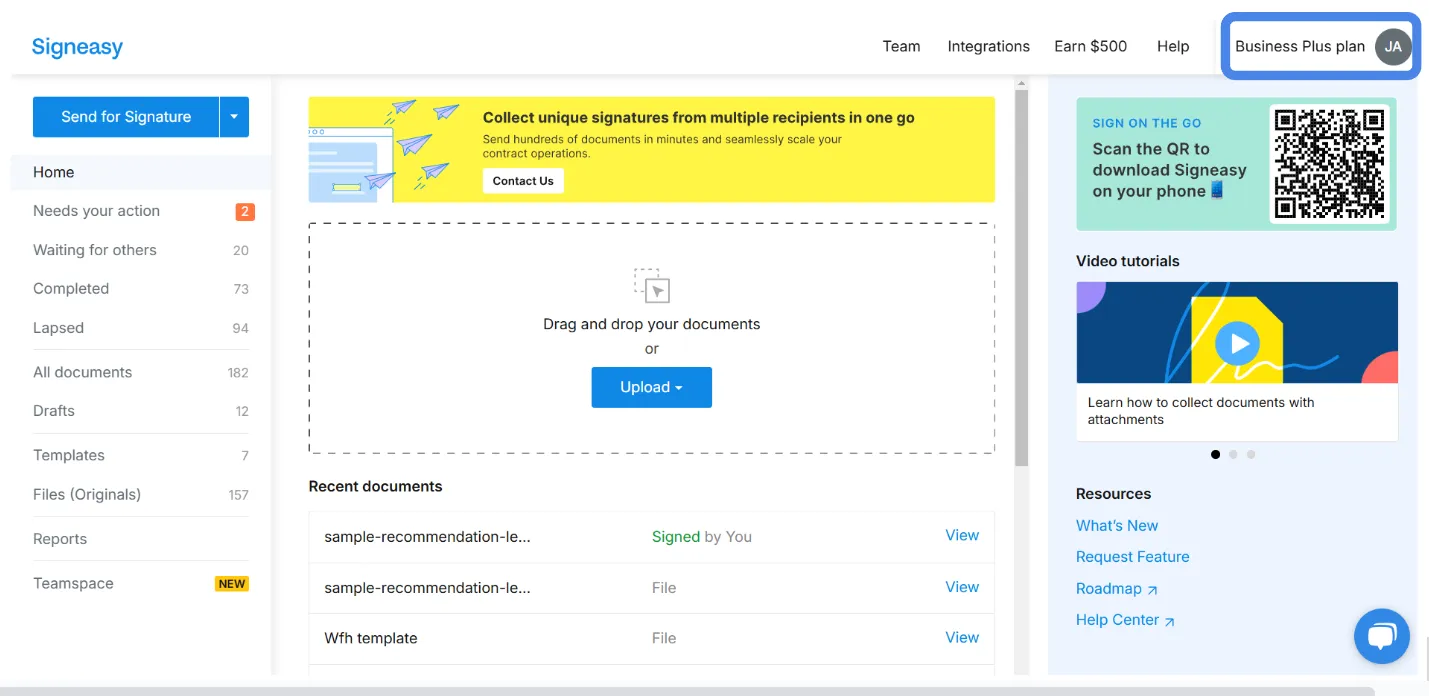
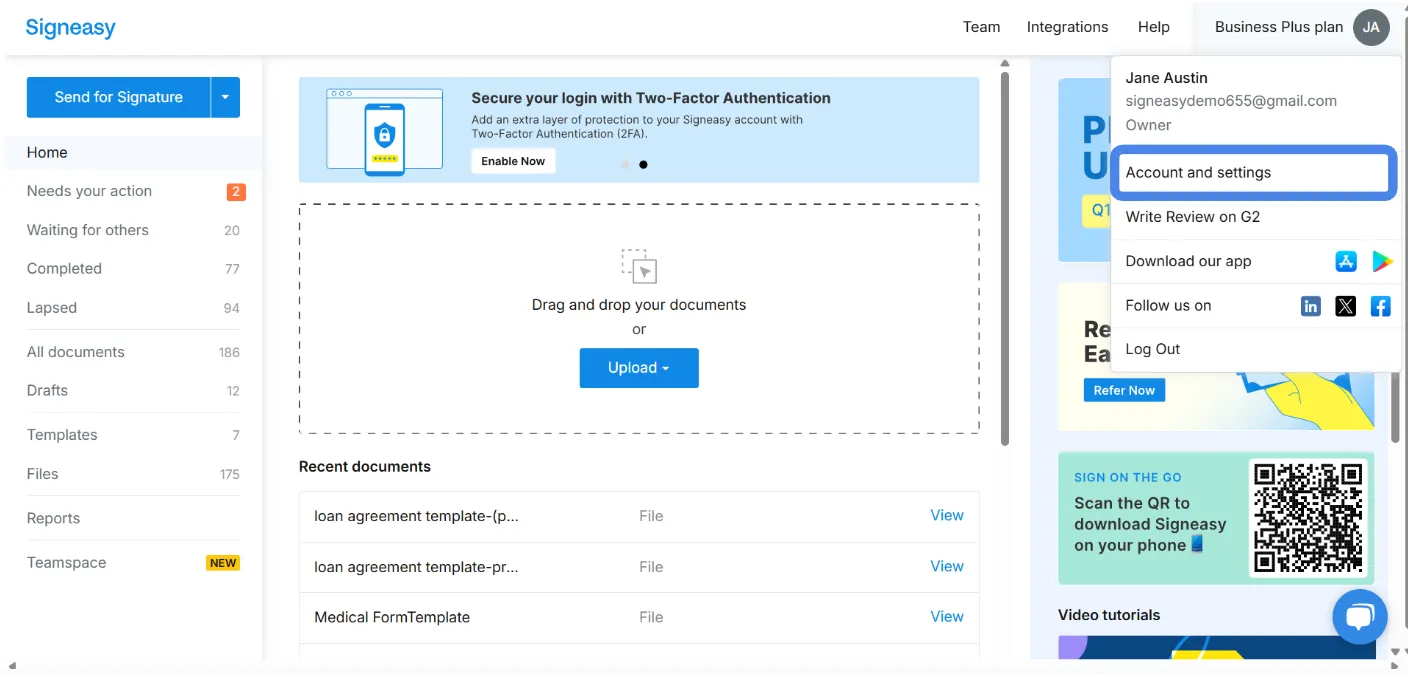
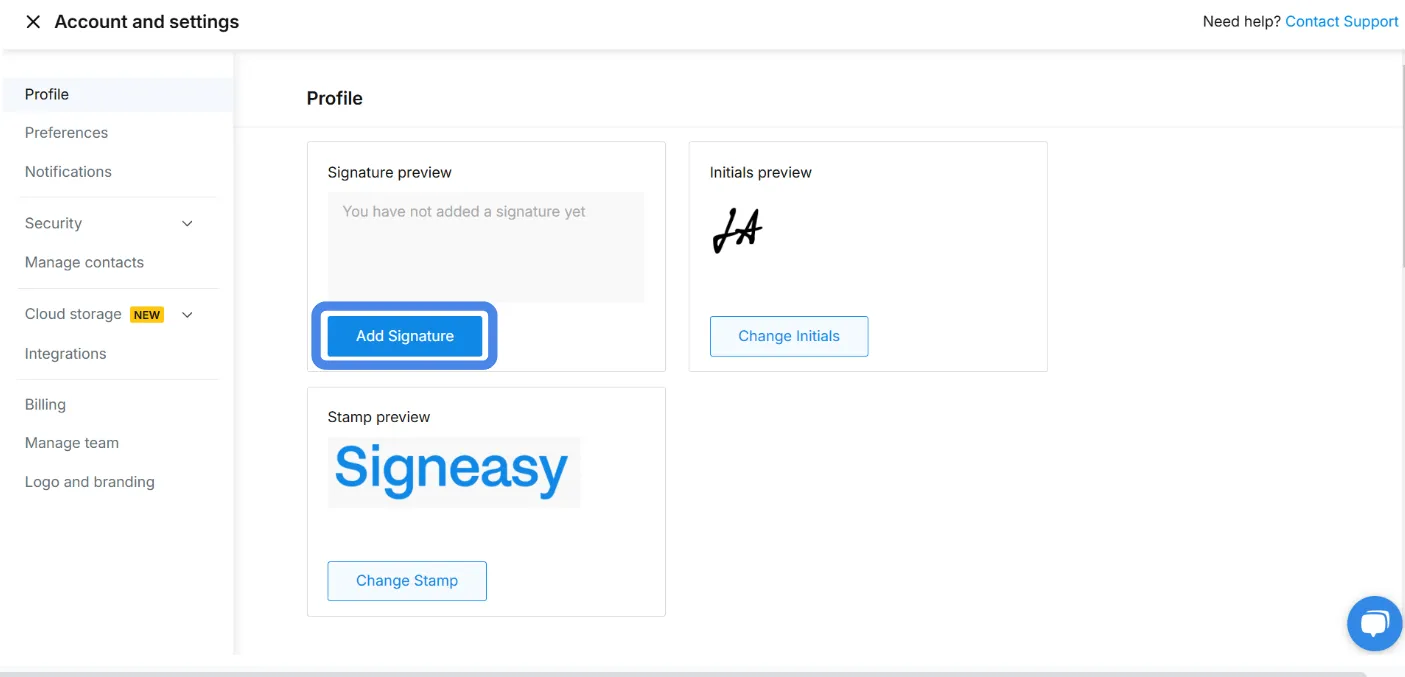
2. First, click on the profile section from the homepage.

3. Then, click on "**Account and settings**".

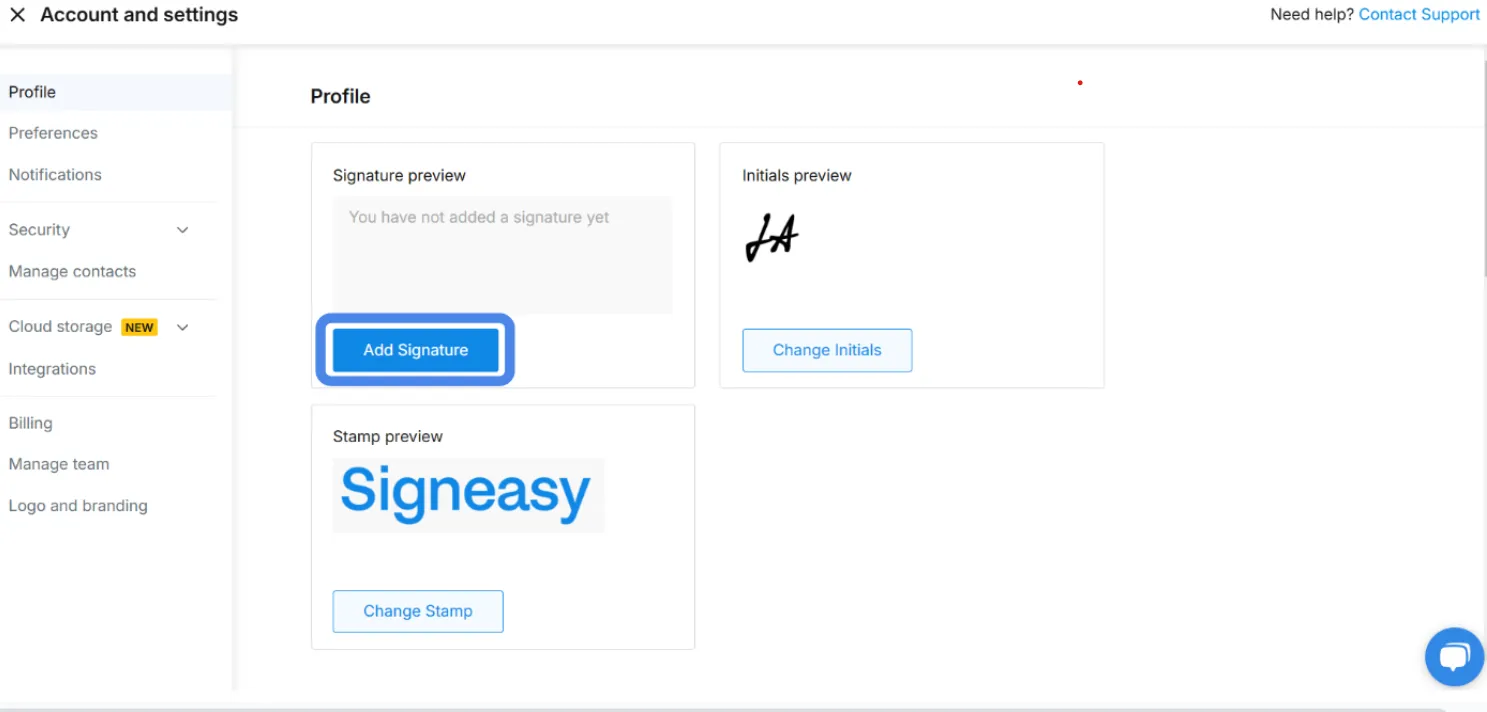
4. Signeasy offers four simple options to generate your esignature.

5. Click on the '**Add Signature**' button in the profile section to begin.

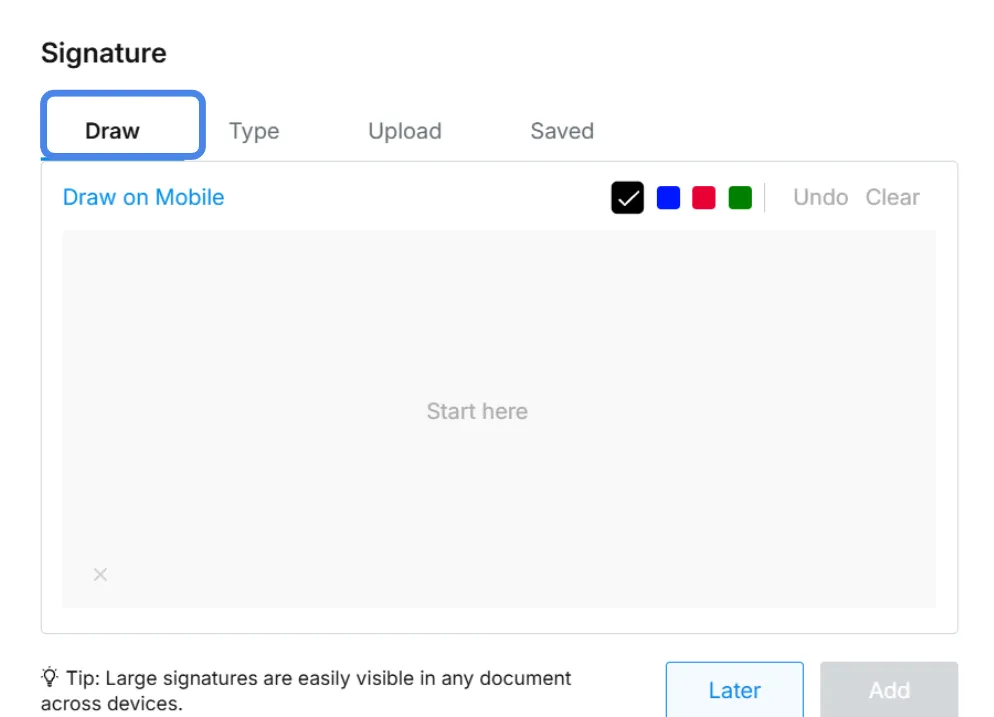
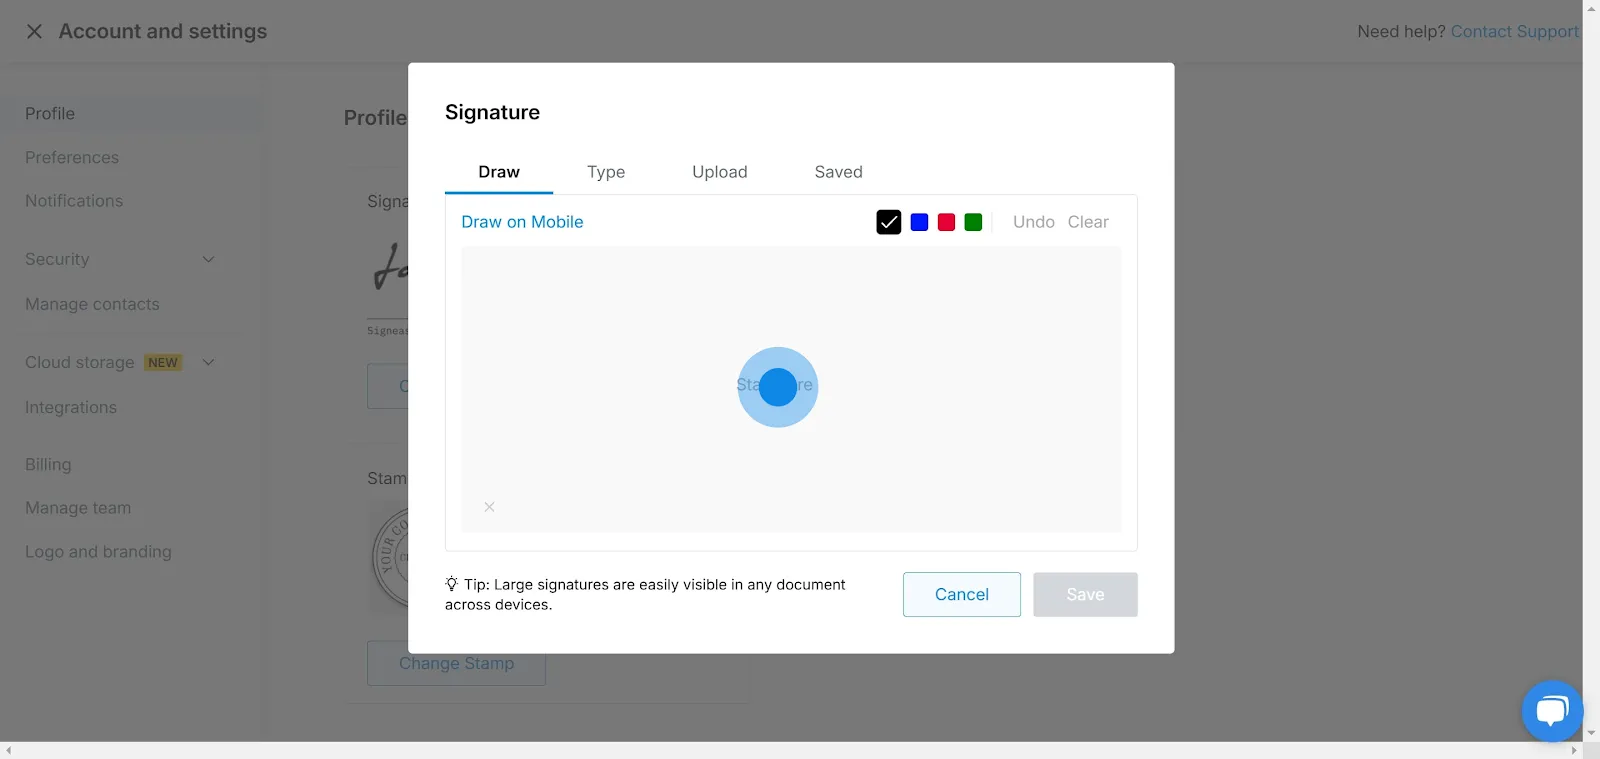
6. **Option 1**: Draw your signature. Select the **'Draw'** tab from the signature format options.

7. Use your mouse, trackpad or touchscreen to create your esignature.

7

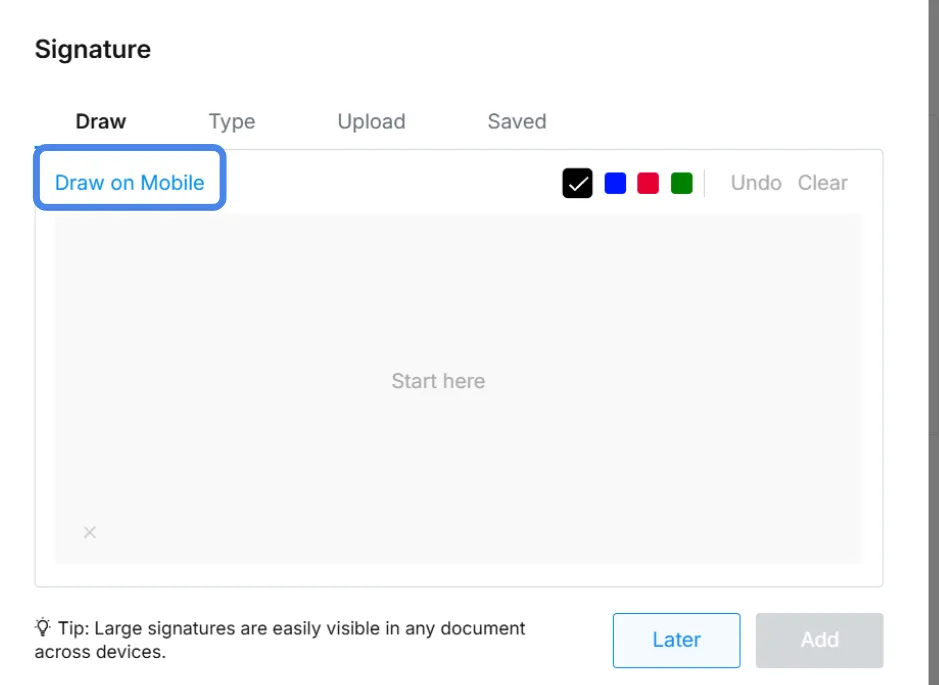
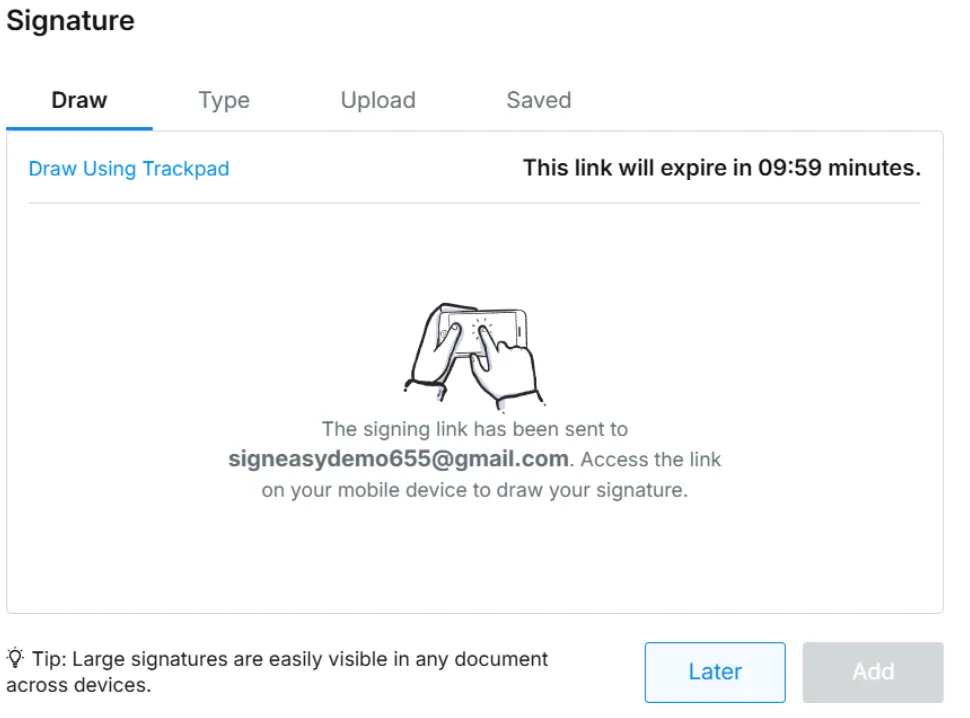
8. **Option 2**: Draw on a mobile device.

9. Select **'Draw on Mobile'**, and a link will be sent to the email associated with your Signeasy account. Open the link from your email and draw your signature on your mobile device. Your signature will be automatically uploaded to the web app.

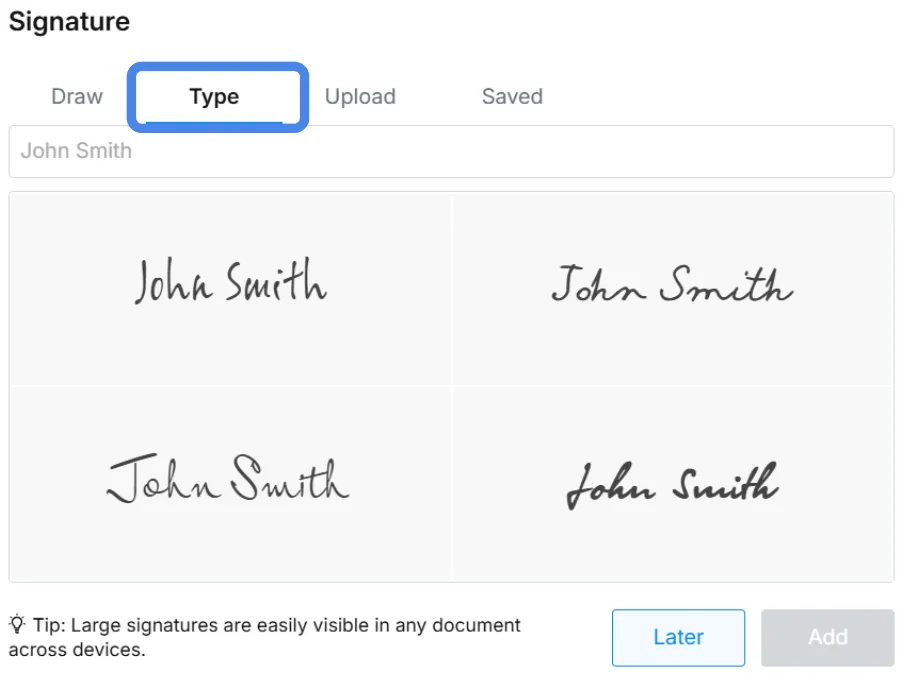
10. **Option 3**: Type your signature. Select the **'Type'** tab from the signature format options.

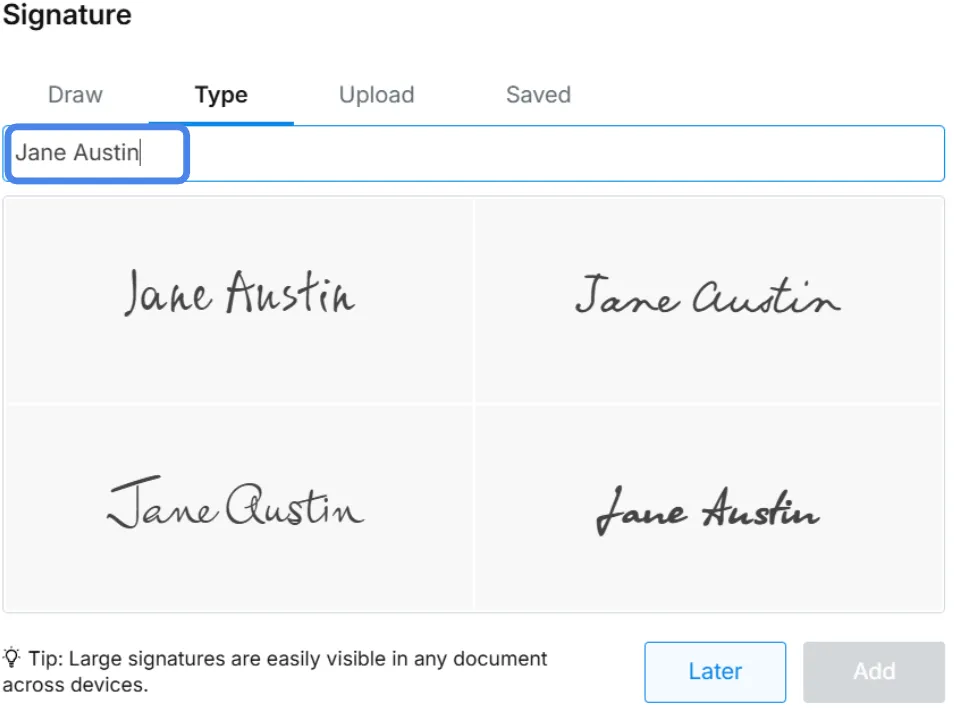
11. Type your name in the specified field.

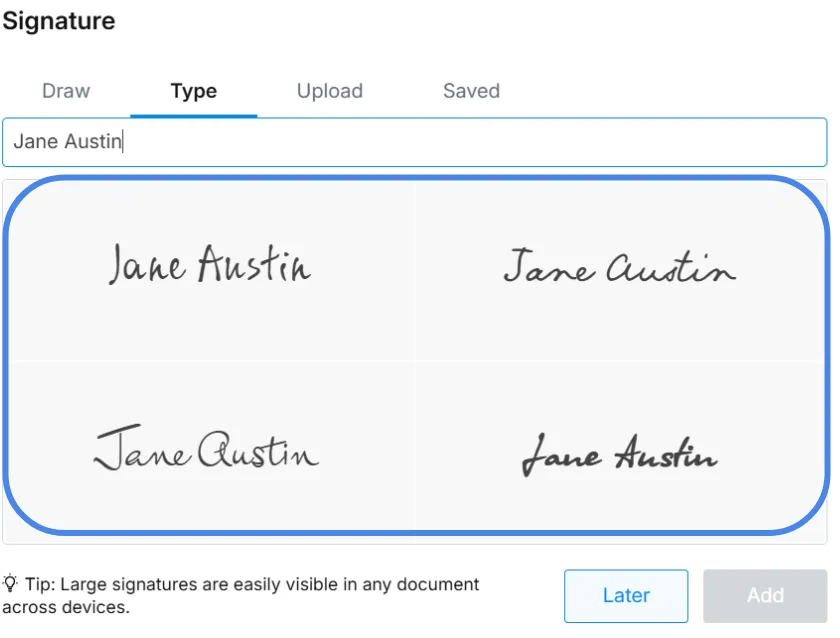
12. Choose a signature style by clicking on one of the available options.

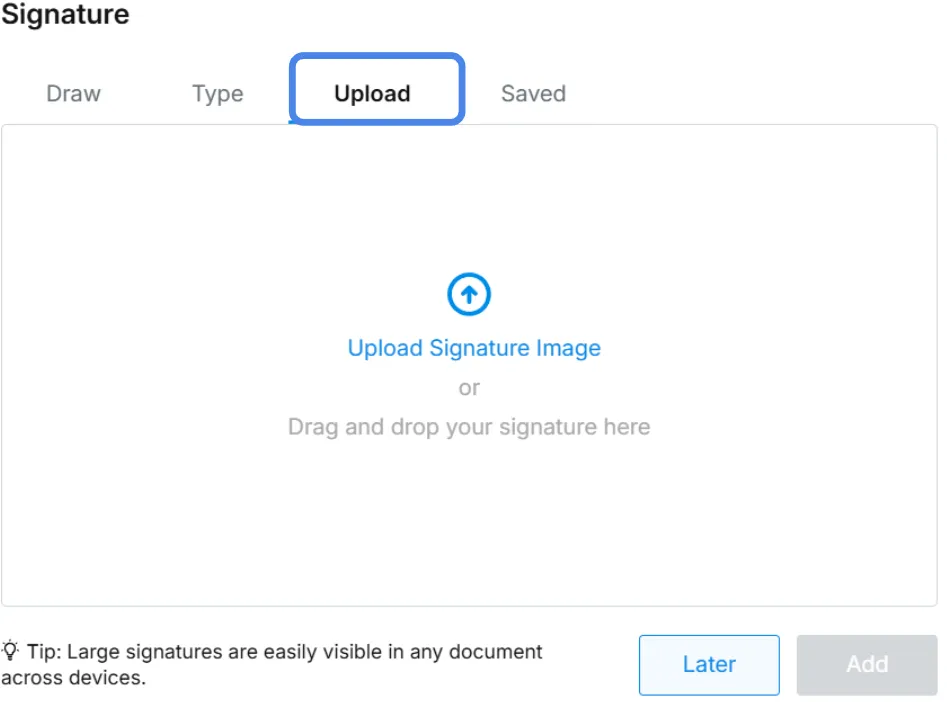
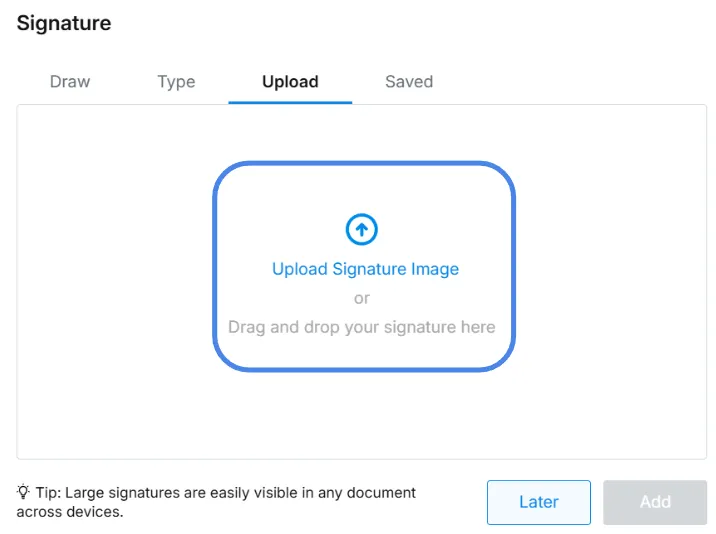
13. Option 4: Upload an image of your signature. Select the **'Upload'** tab from the signature format options.

14. If you prefer using your own handwritten signature upload a PNG image from your computer or simply drag and drop it into the upload screen.

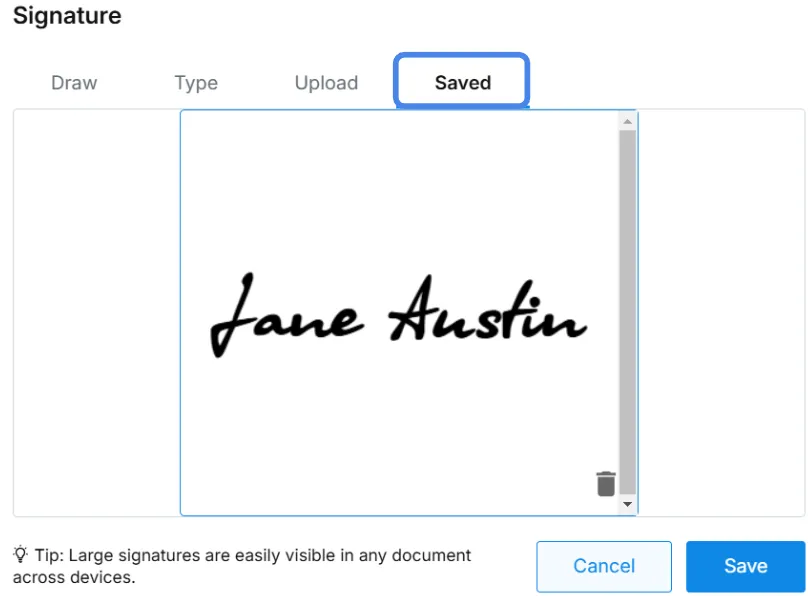
15. Once you've created your signature, it will appear in the '**Saved**' tab. Select the **'Saved'** tab from the signature format options.

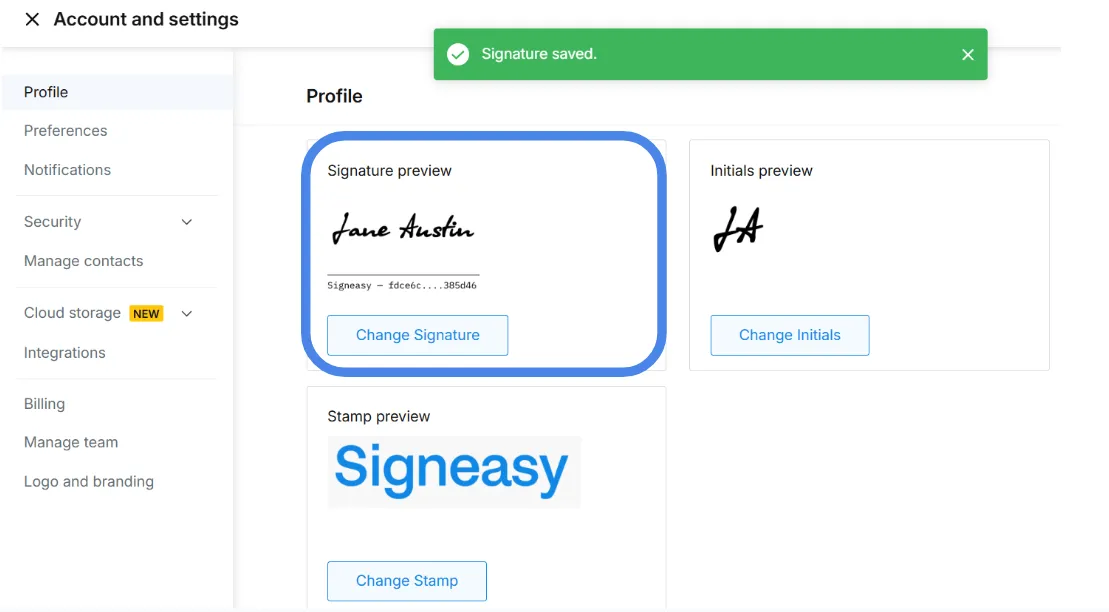
16. Select your signature and click on **'Save'** to finalize.

17. You've successfully generated your eSignature using Signeasy.

‍

Frequently asked questions

How can we add new recipient to recipient list?
In Signeasy, you can add new recipients by entering their details before sending the document to them. Signeasy allows you to include multiple recipients or signers, assign fields to each signer, and define the signing order. You can also verify the recipeient and request attachments from them. If someone only needs to be copied without taking any action, you can add them as a CC recipient.
How do I add more recipients to an email?
When sending a document for signature through Signeasy, you can add more recipients by simply entering their email addresses in the recipient list. You can also bulk send to multiple recipients using CSV files. Then, you can assign signing roles, set a signing order, and include additional people in CC if they only need to be notified without taking action on the document.
How do I merge recipient information to a new document?
When you have two different templates and need to send them to the same recipient list, Signeasy will automatically prompt you to merge recipient information and fields. If you choose to merge, Signeasy carries over the recipient data like names, emails, and assigned fields across both templates, so you don’t have to re-enter anything.