You can add a signature to Word in multiple ways – by inserting a scanned handwritten signature image, using Word’s built-in Signature Line, or applying a secure electronic signature with Signeasy.
Handwritten signatures in Word are simple but manual – you scan your ink signature, insert it as an image, optionally save it as an AutoText signature block, and reuse it across documents.
Word’s Signature Line feature gives a more formal sign-off – it inserts a designated signing area, lets you capture a digital-looking signature, and guides signers where to sign.
Signeasy lets you electronically sign word document files in just a few steps – upload the doc, place your eSignature, add fields like date/initials, click Finish, and download a signed PDF.
Signeasy automatically converts Word documents to PDF format, ensuring the most secure and tamper-proof signed files.
Create your signature once in Signeasy, and insert it in any document with a single tap. No need to re-upload or redraw every time.
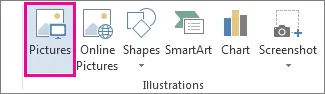
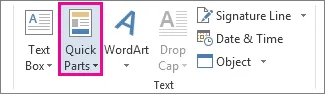
To insert a signature in a Word document, scan or photograph your handwritten signature and insert it as a PNG or JPG image via Insert > Pictures — or use Insert > Signature Line to create a formal, designated signing area. For a reusable signature block, save your image with text using Insert > Quick Parts. All four methods work in Microsoft Word on Windows and Mac.
To insert signature in Word document using Signeasy, upload the Word document, create or add a signature, place it where needed, and then download the signed document.
There are quite a few ways to add your signature to a Word document, and each one suits different styles and needs. In this article, we will walk you through various signature-adding methods to ensure your documents are authentic and have your personal touch. We will cover:
How to add a handwritten signature in Word?
How to insert signature in Word using Signature Line?
How to electronically insert a signature in a Word document with Signeasy?
How do I insert a signature into docs?
How do electronic signatures in Word documents streamline the workflows?
Comparison of signature methods in Word
Methods for adding a signature in documents: effort vs security
Method
Best For
Effort
Security Level
Scanned / Image signature
Quick, reusable handwritten look
Low (one-time setup)
Basic — image only, no encryption
Signature Line (Windows)
Formal, designated signing area
Low
Moderate — digital-looking, certificate optional
AutoText / Quick Parts block
Frequent signers needing speed
Low (after initial setup)
Basic — same as image method
Draw tool
Touchscreen or stylus users
Very low
Basic — drawn annotation, no certificate
Signeasy eSignature
Contracts, legal docs, multi-signer
Low (cloud-based)
High — encrypted, audit trail, ESIGN/eIDAS compliant
How to add a handwritten signature in Word?
How do I write my signature on a Word document?
Sign & scan: Write your signature on plain white paper, then scan it or take a clear photo. Save it as a PNG or JPG file on your computer.
Insert the image: In Word, go to Insert > Pictures > This Device and select your saved signature image.
Format the image: Click the image, open the Picture Format tab, and use Crop to resize. Click Remove Background to create a transparent background for a cleaner look.
Position: Right-click the image, select Wrap Text, and choose In Front of Text so you can freely move and place the signature anywhere on the page.
Tip: Save as PNG (not JPG) for a transparent background — the white background of a JPG will show as a white block over your document text.
How to create a reusable signature block in Word (AutoText / Quick Parts)
If you sign documents frequently, Word lets you save your signature as an AutoText entry so you can insert it with two clicks — no need to re-upload the image each time.
1. Insert your signature image into the document as described above.
2. If you want to include your name, title, or phone number, type it below the image.
3. Select both the image and the text together.
4. Go to Insert > Quick Parts > Save Selection to Quick Part Gallery.
5. Give your signature block a name and click OK.
6. To reuse it, go to Insert > Quick Parts > AutoText and select your saved block.
How to draw a signature in Word using the Draw tool
You can hand-draw your signature directly in Microsoft Word, using a mouse or stylus. Here are the steps you can follow:
Open your document in Word.
Click on the Draw tab on the top ribbon.
Select a drawing tool (pen or pencil)
Use your tablet, trackpad, stylus, or a mouse to draw your signature.
Tap again on the drawing tools to open the Color and Thickness option menu. Choose a color and thickness.
Once done save your document with your signature.
How to add an electronic signature to Word documents using Signature Line?
Insert the line: Go to Insert > Signature Line (in the Text group on the ribbon).
Set up the signer: In the Signature Setup box, enter the signer's name, title, and email address. Add instructions if needed. This adds a line with an X, indicating where to sign.
Sign: Double-click the signature line to open the Sign dialog box, then type or draw your signature using a mouse, touchpad, or stylus.
Finally, click “Sign” to apply the signature to the document.
Quick tips for inserting a signature in Word
• Use PNG not JPG: PNG files support transparent backgrounds, so your signature blends seamlessly into any document without a white rectangle.
• High-quality scan for best results: A flatbed scanner produces cleaner signatures than a phone photo. Scan at 300 DPI or higher.
• For legally binding signatures: If your document requires a highly secure, encrypted signature with an audit trail, use a dedicated eSignature solution like Signeasy rather than Word's built-in tools.
• Word's Signature Line is for Windows only: The formal digital Signature Line feature is only available in Microsoft Word for Windows, not on Mac or Word Online.
• AutoText saves time: If you sign the same type of document regularly, saving your signature as an AutoText block (Quick Parts) means you never have to re-upload or redraw.
How to eSign a Microsoft Word document with Signeasy’s eSignature platform?
Electronically signing a Word document offers a convenient and efficient way to authenticate and validate your digital files. By adding electronic signatures in Word documents, you can enhance productivity, save time, and simplify the signing process while maintaining the authenticity and compliance required for your important documents.
Here’s how to insert an electronic signature in Word with Signeasy, whether you’re eSigning on a desktop, mobile, or tablet.
Step 1: Log into Signeasy
Open a new tab or browser window and log into your Signeasy account. If you haven’t registered for our electronic signature app, create a free account.
Step 2: Click ‘Send for Signature’
Click the blue “Send for Signature" button in the top left corner of your screen, then choose the “Sign Document” option.
Step 3: Import your document
Select the Microsoft Word document you need to sign.
Step 4: Add your signature
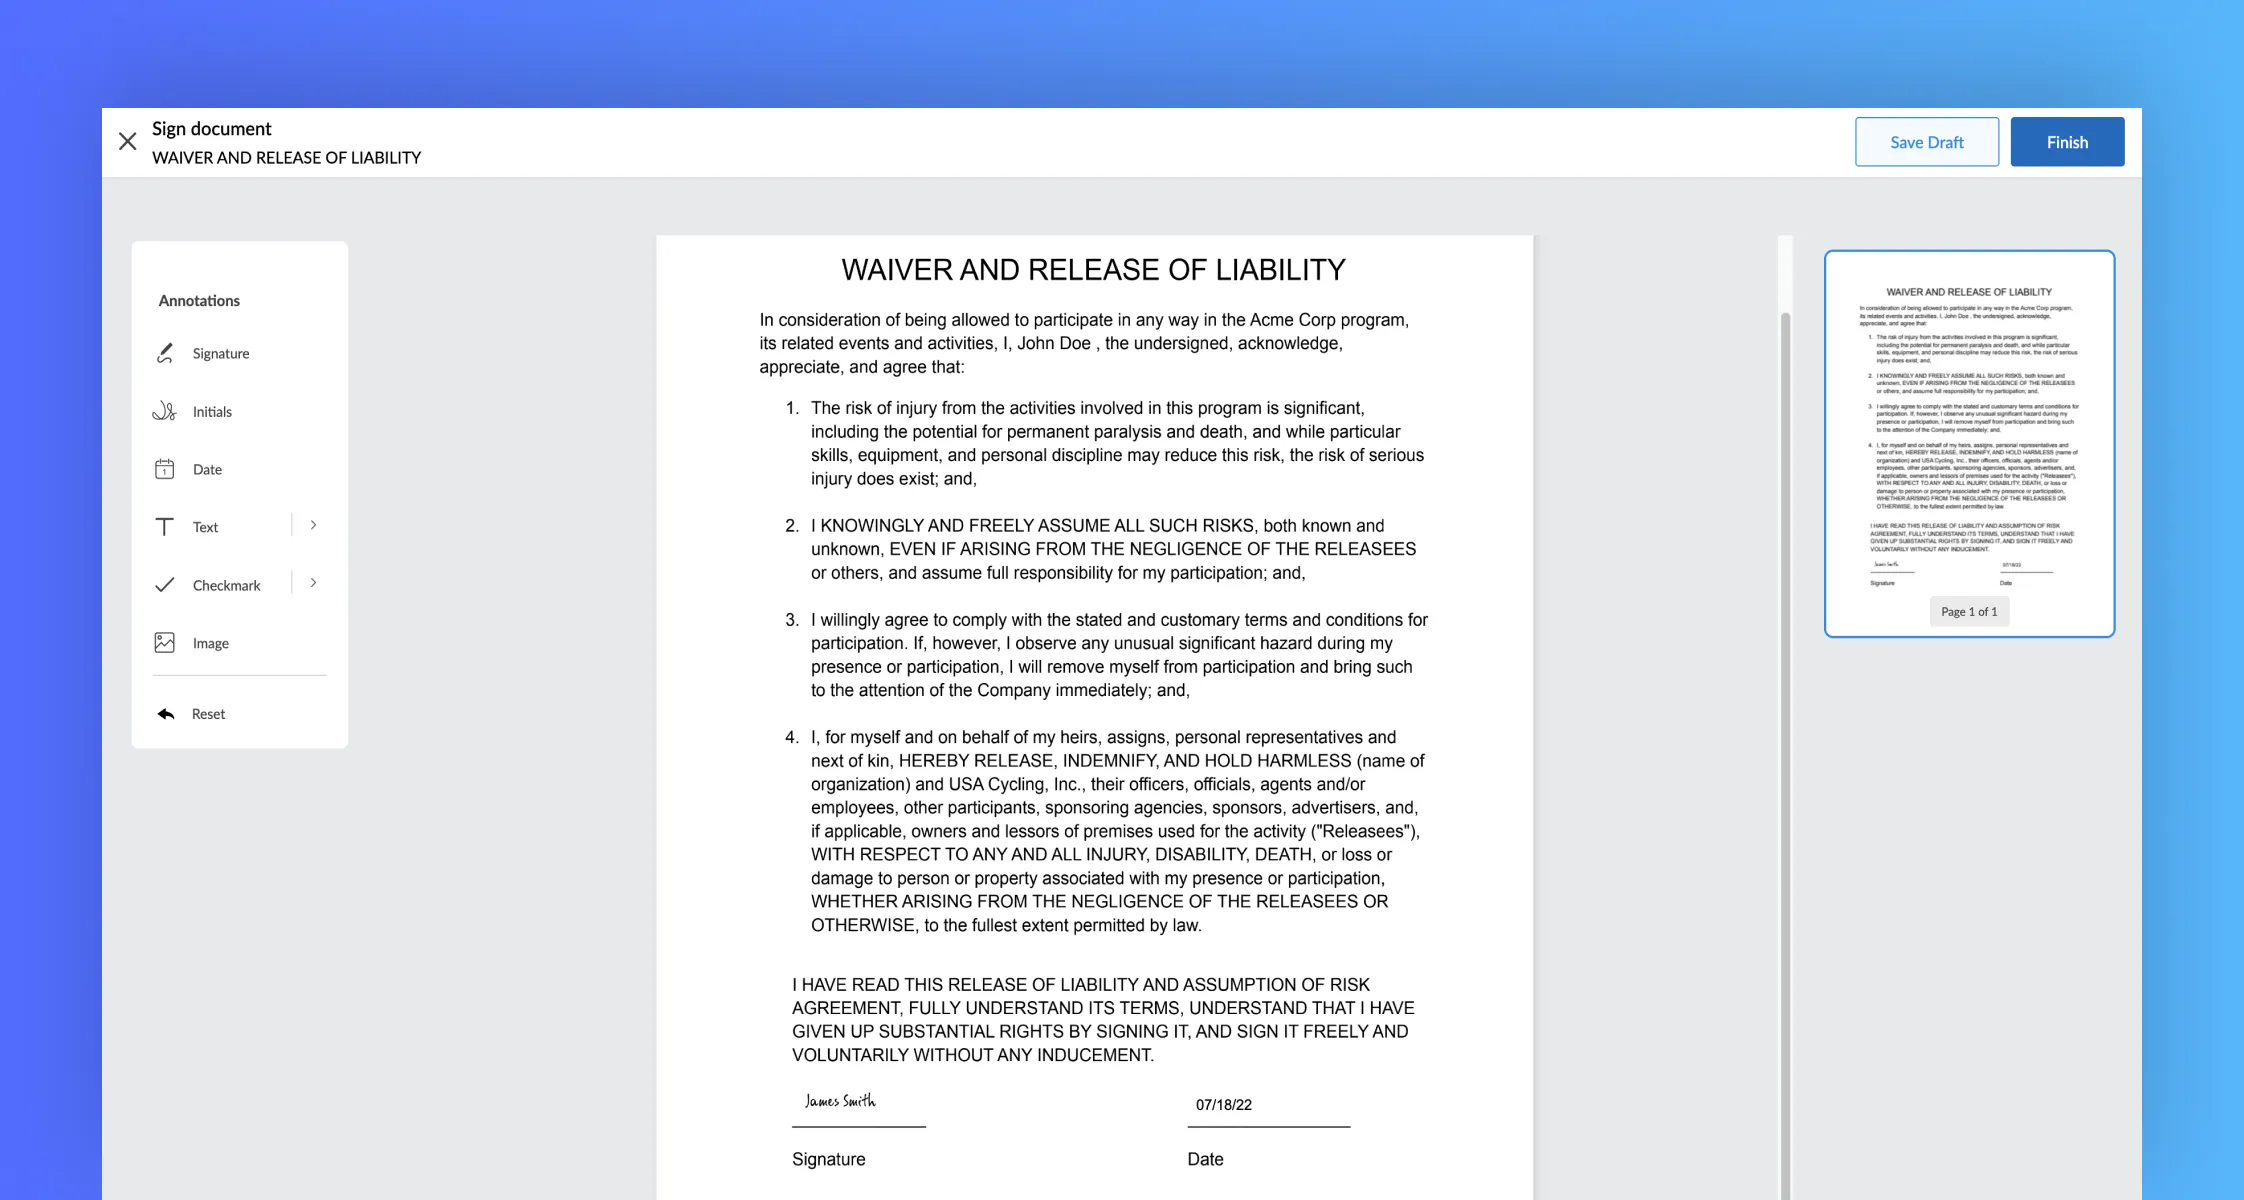
You’ll see the “Signature” option in the left-hand menu bar. Once you have configured your electronic signature (by selecting your preferred font or drawing your own signature), you can either drag and drop it into the document or place it on the signature line with a click.
If the author has already given signer instructions by adding a Signature Line, great. If not, you can add a Signature Line with Microsoft Office Signature Line.
Step 5: Add other fields
Once you’ve added your electronic signature to the Microsoft Word document, you can insert an additional signature field if you like. You can add more fields like date, name, and initials.
Step 6: Click Finish
Is all of your information accurate and complete? If so, click “Finish” to finalize your signed document, then click “Download” to save a signed PDF to your device.
Inserting an electronic signature in Word is just that easy!
How do I insert a signature into Docs?
Google Docs and Microsoft Word are both powerful word-processing tools, sharing key features like text formatting, image insertion, and collaborative editing. However, Google Docs stands out with its cloud-based platform, enabling real-time collaboration and access from anywhere with an internet connection.
This ease of sharing and collaborating has made Google Docs increasingly popular in the business world. If you’re creating a contract on Google Docs, you can easily sign it using Signeasy. Here’s how:
Open your document in Google Docs.
Click on the Signeasy Add-on in the right-hand sidebar.
Select “Request Permission” if prompted to allow Signeasy access to the document.
Confirm by clicking “Allow” in the pop-up box.
Select “Sign” from the right-hand navigation panel to sign the document yourself.
This will open a new tab with your document pre-loaded into Signeasy as a PDF.
Proceed to eSign your Google Docs in Signeasy.
How to insert a signature to a Word document with the Signeasy application?
You can easily insert a signature to a Word document using the Signeasy application on your device. Here’s how you can do this:
Step 1: Open the Signeasy application
Open the Signeasy application on your preferred device, whether it's an iPhone or an Android device. If you're on Android, you can also sign documents from your Android device using our step-by-step PDF signing guide.
Step 2: Upload the document
To add a Word document to the Signeasy app, simply tap the "+" button. A menu will pop up, giving you the option to choose and upload the document from Drive, Dropbox, OneDrive, or your phone's storage.
Step 3: Start signing
After you've chosen and uploaded the document on the app, you'll see a preview of the document. Below the page, you'll find a button labeled "Start Signing." Click the button to begin the process of inserting your signature.
Step 4: Select your signature option
The Signeasy app will prompt you to select from three options: "Sign Document" by yourself, "In-person signing" with another person present, or "Send for Signature" to get add a signature from a person in a different location.
Step 5: Sign the document
From the annotations menu, either draw, type, or upload your signature. Once done, place your signature at the specified location on the document.
Step 6: Finalize and share
After you have placed your signature where you want it, tap the checkmark icon at the top right corner of the app. A pop-up will then appear asking for confirmation. Select "Yes" to confirm that you want to sign.
Step 7: Share or store the document
You can easily share the signed document from Signeasy via email or securely store it in your cloud storage. Signeasy makes sure that your signed documents are easily accessible and safely stored.
Limitations of adding a signature in Word
Word is great for creating documents. But when it comes to securely signing, tracking, and managing eSignatures, you’ll start facing a few limitations. Let’s walk through them.
1. No bulk signing features
In Word, every document needs to be prepared and sent individually. If you’re sending offer letters, NDAs, or agreements in batches, this process becomes time-consuming and hard to scale.
As volume increases, using dedicated eSignature tools make a huge difference. For example Signeasy allows you to create reusable templates and send documents in bulk without starting from scratch each time.
2. No signing order
Word doesn’t control sequential signing. If a document requires approvals in a specific sequence, say, legal before finance , you’ll need to coordinate that manually. This often leads to back-and-forth emails, confusion, or accidental parallel signing.
More advanced contract management platforms like Signeasy help you auto-route documents to the next signer, track with real-time notifications, and streamline coordination among signers.
3. No audit trail
When you insert a signature in Word, there’s no detailed record capturing timestamps, IP addresses, or authentication data. That lack of complete transparency can be risky for contracts that require strict compliance or legal validity. However, with Signeasy, all your contracts are traceable with a detailed audit trail.
4. No centralized repository
Microsoft Word lacks a centralized repository to manage all your documents post signing. End-to-end contract management platforms like Signeasy store and categorize contracts; auto-extract key metadata; enable AI-powered search; track full audit trails; integrate with business tools; and send alerts, all in one repository.
5. No automated reminders
If your client forgets to sign a Word document, it’s up to you to remember to follow up. That can mean multiple emails and awkward nudges! However, Signeasy solves this problem by sending automatic reminders until the entire signing process is completed.
6. No identity verification
When you add a signature in Word, there’s no built-in way to verify the signer's identity. A typed name, a pasted image, or even a scanned signature doesn’t confirm someone’s identity. In sensitive agreements, that makes impersonation much easier and opens the door to forgery.
Signeasy, on the other hand, adds extra layers of verification, such as two-factor authentication (2FA), role-based access. Single Sign-On (SSO), and detailed audit trails. These security measures bring far more trust and accountability to the signing process.
7. Limited document compatibility
Word works well for .doc and .docx files, but not every legal process accepts these two formats. Some organizations, government bodies, or legal processes only accept PDFs or other secure formats. That can mean extra steps to convert files, reformat them, or even re-sign documents altogether.
However, with Signeasy, you can upload and sign across 25+ document types, including PDF, MS-Office (DOC, DOCX, XLS, XLSZ, PPT), TEXT, RTF, HTML and commonly used image formats (JPG, BMP, PNG).
Are electronic signatures in Word legally binding?
Technically yes, electronic signatures in Word can be legally binding, but only if they meet certain legal requirements. Under the ESIGN Act and the UETA Act, electronic signatures are legally valid if:
The signer intended to sign
The signer consented to conduct business electronically
The signature is logically associated with the document
The record can be retained and reproduced
eIDAS Act defines three levels of electronic signatures:
Simple Electronic Signature (SES)
Advanced Electronic Signature (AES)
Qualified Electronic Signature (QES)
Now, a typed or image based signature added in Word generally falls under a simple electronic signature. However, Word doesn’t automatically capture proof of intent, consent, timestamp, IP address, or document integrity. If a dispute arises, proving authenticity can become difficult for high risk regulated transactions.
So, Word might allow you to add a signature, but end-to-end contract management solutions like Signeasy are built to align with ESIGN, UETA, and eIDAS requirements.
Electronic signature vs digital signature in Word
Microsoft Word offers two ways to add signatures in a document- electronic signature and digital signature.
Electronic Signature in Word
An electronic signature in Word includes: typing your name, inserting a scanned image of your signature, or drawing your signature using the Draw tool. However it doesn’t verify the signer’s identity or secures the document from tampering.
Digital Signature in Word
A digital signature in Word is certificate-based and encrypted. It works by using a digital certificate issued by a trusted Certificate Authority (CA)or attaching cryptographic proof to the document. Once you digitally sign a document in Word, it becomes tamper-proof.
Although Word does offer secure digital signatures, it requires users to obtain and manage certificates. It’s not designed for sending, tracking, or collecting signatures from multiple parties. And it doesn’t include workflow automation or built-in reminders.
Why use an electronic signature?
Electronic signatures bring many benefits compared to wet-ink signatures.
1. Electronic signatures provide unmatched convenience and efficiency.
With just a few clicks, you can sign PDF online from anywhere, eliminating the need for printing, scanning, or mailing. This saves valuable time, streamlines workflows, and enhances productivity.
Additionally, electronic signatures are legally binding and recognized in many jurisdictions, ensuring the enforceability of signed documents. They offer advanced security measures such as encryption and authentication.
Furthermore, electronic signatures enable seamless collaboration, allowing parties worldwide to sign documents online in real time, fostering global business interactions.
By embracing electronic signatures, you can optimize your document signing processes, increase efficiency, reduce costs, and contribute to a more sustainable, paperless future.
2. eSignatures are simple and intuitive to use
Upload your document, set up signers and signing order, and send it ahead for signatures. eSignatures are hailed for their simplicity and intuitive nature, making the process of signing documents effortless and user-friendly.
With Signeasy’s electronic signature solutions, signing documents becomes a straightforward and intuitive experience. The user interface is designed to be user-friendly, guiding users through each step of the signing process.
Whether using a touchscreen, a mouse, or a stylus, the process is seamless and requires minimal effort. The simplicity and intuitiveness of eSignatures make them accessible to individuals of all technical backgrounds, ensuring that anyone can quickly adapt to and use this modern approach to signing documents.
3. Digital signatures are legally compliant
Signeasy maintains legal compliance in its electronic signature solution through various measures. It adheres to national and international regulations such as the ESIGN Act and eIDAS Regulation, ensuring its electronic signatures are legally valid and enforceable.
By incorporating security features like audit trails and document integrity to track and protect the integrity of signed documents, Signeasy enhances legal compliance.
It offers authentication methods to verify signer identities, reinforcing the legality of the electronic signatures. Signeasy ensures that signers explicitly consent to using electronic signatures and understand the legal implications.
Data security and privacy are prioritized through encryption, secure storage, and compliance with relevant regulations like GDPR. By upholding legal compliance, Signeasy provides users with the confidence that their electronic signatures are legally sound and trustworthy.
4. eSignatures are remote-friendly
Easily sign documents from anywhere, from any device, across geographies. Signeasy enables you to sign word documents and collaborate from any location. Its cloud-based platform allows users to access and manage documents remotely, eliminating the need for physical presence.
The cross-platform compatibility ensures accessibility from various devices and operating systems. With the mobile app, users can sign and manage documents on the go.
Collaborative features like tracking contract status enable real-time collaboration, and integrations with popular tools enhance productivity. Signeasy prioritizes security and compliance, ensuring secure remote signing.
Overall, Signeasy offers a comprehensive solution that empowers remote users to sign and manage documents efficiently and effectively.
5. Faster turnaround times with electronic signatures
Sign off and close business deals in seconds. eSignatures provide flexibility in time-sensitive scenarios. Electronic signatures significantly contribute to faster turnaround times in document processing.
With electronic signatures, the need for printing, scanning, mailing, or physically delivering documents is eliminated. This eliminates the delays associated with traditional paper-based processes.
Instead, electronic signatures enable documents to be signed and returned instantly, regardless of the location of signers. Parties involved can access documents simultaneously, allowing for real-time collaboration and quick decision-making.
Electronic signature solutions often include features such as templates and automated workflows, further streamlining the process and reducing manual tasks. Additionally, notifications and reminders can be set up to prompt signers, ensuring timely completion of the signing process.
By removing the barriers of time and physical distance, electronic signatures accelerate the overall document turnaround time, enabling businesses to operate more efficiently and respond quickly to opportunities and demands.
6. eSigantures are affordable
Physical paperwork can be expensive. Electronic signatures save you valuable money and effort. Electronic signatures provide a cost-effective solution for document signing compared to traditional paper-based processes.
They eliminate expenses associated with paper, printing, postage, and courier services. Electronic signatures save time and resources by streamlining the signing process, and enhancing productivity and efficiency.
The flexible pricing models offered by electronic signature providers allow businesses to choose options that align with their needs and control costs. Overall, electronic signatures deliver significant cost savings through reduced paper usage, increased operational efficiency, and improved productivity.
7. eSignatures are environment-friendly
No paper wasted. No trees butchered. No more guilt that comes with paper-based processes. Electronic signatures play a significant role in promoting environmental sustainability by reducing the reliance on paper-based processes.
By eliminating the need for printing, scanning, and mailing paper documents, electronic signatures help conserve valuable natural resources and minimize deforestation.
The reduction in paper consumption also decreases the carbon footprint associated with paper production, including energy usage and greenhouse gas emissions.
Additionally, electronic signatures contribute to a paperless office environment, reducing the amount of waste generated from discarded or obsolete paper documents.
By embracing electronic signatures, organizations can make a positive impact on the environment by conserving resources, reducing waste, and mitigating their ecological footprint.
You can sign a Word document by typing your name, inserting a scanned image of your signature, drawing your signature using the Draw tool, or adding a digital signature through the Signature Line feature.
How do I create an electronic signature?
An electronic signature can be created by typing your name, drawing it with a stylus or mouse, uploading a scanned signature image, or generating one through a contract management platform like Signeasy.
How do I add a handwritten signature in Docs?
To add a handwritten signature in Docs, go to Insert > Drawing > + New > choose the Line tool from dropdown > Scribble > and draw your signature using your mouse or stylus. Click Save and Close to insert the handwritten signature into your document.
How do I copy and paste a signature into a Word document?
To copy and paste a signature into a Word document, open your saved signature image, right-click and select Copy, then paste it into your Word document using Ctrl + V. You may resize and position the image as needed.
How do I insert a signature in Word without printing?
You can insert a signature in Microsoft Word without printing by using the Draw tab: open your document, go to Draw, select a pen tool, and sign directly using your mouse, trackpad, or touchscreen; alternatively, insert a saved signature image via Insert > Pictures and position it where needed.


.webp)
.webp)
.webp)
.webp)


.webp)

