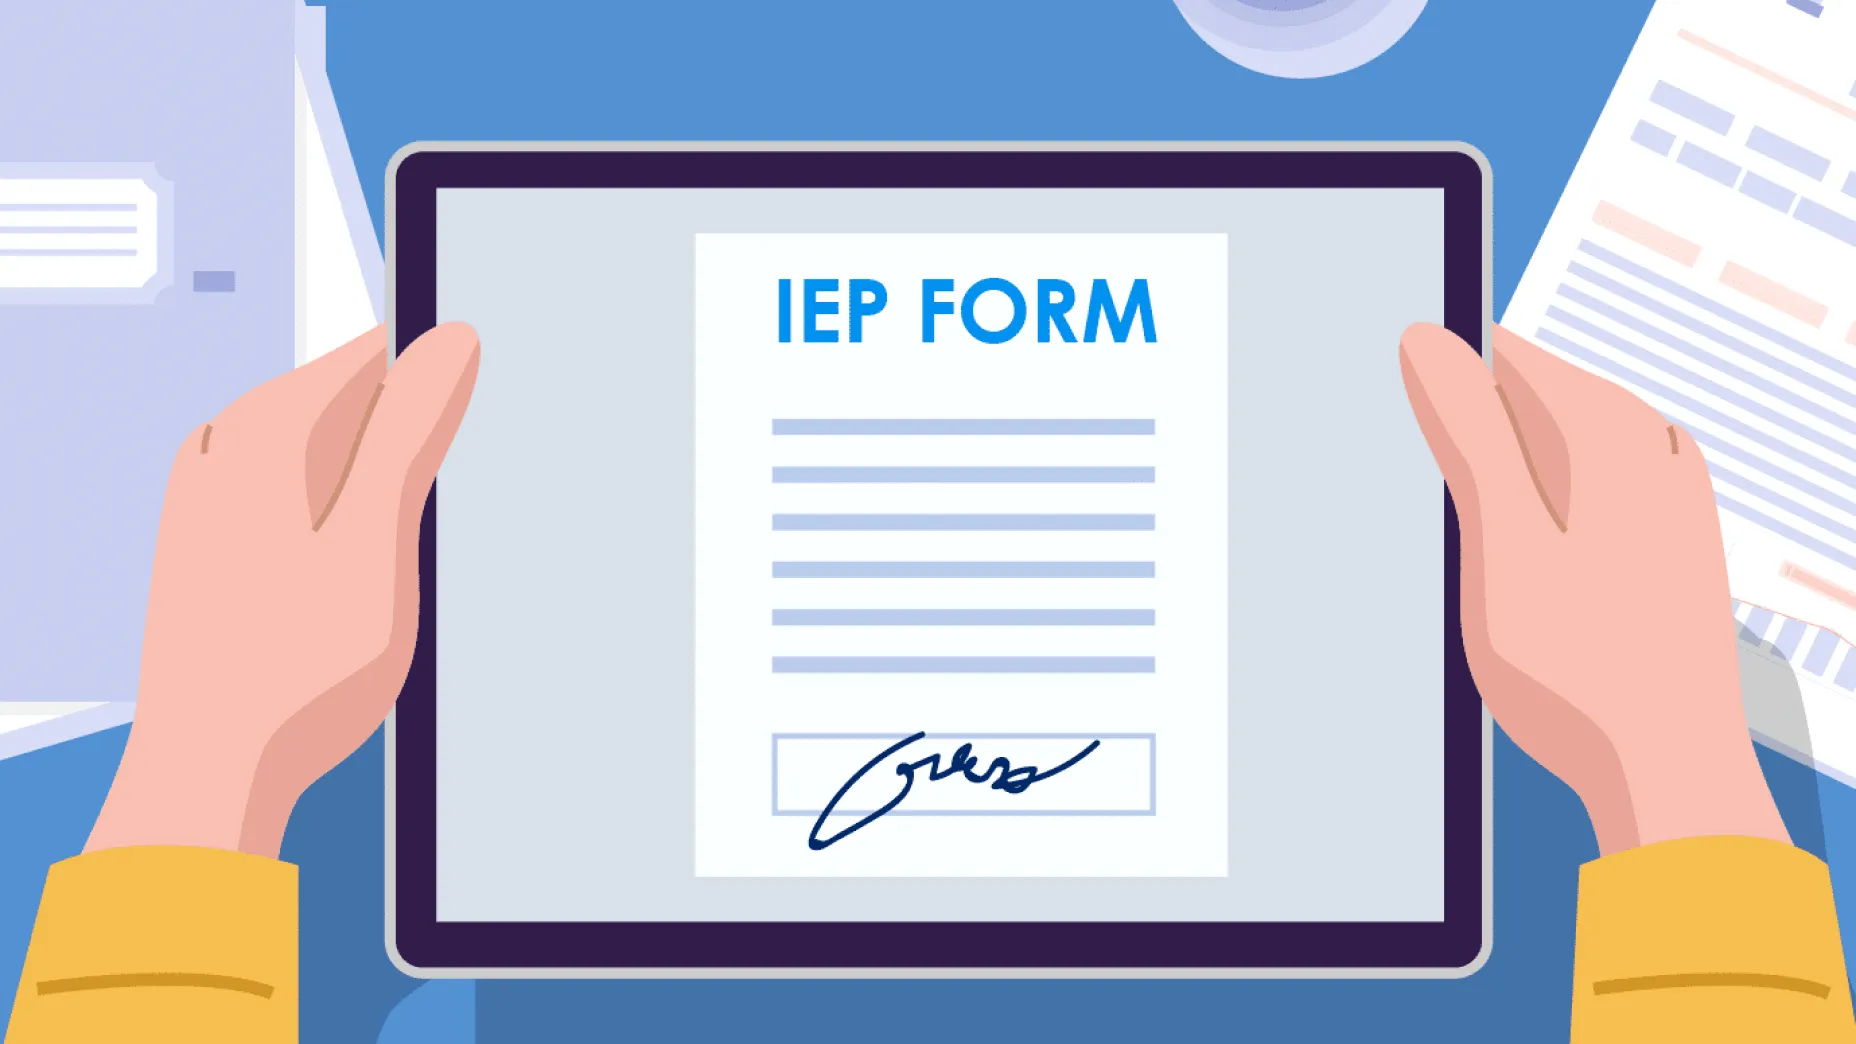
Schools might be closed due to COVID-19, but the flow of paperwork between administrators and parents hasn’t slowed down one bit. Now that children are unable to return signed forms to their teachers in-person, schools need to provide parents with a simple way to complete important documents from home.
While report cards and consent forms typically require a single signature, signing off on Individualized Education Programs – or IEPs – for students with disabilities often involves multiple stakeholders, documents, and steps (think IEP goal sheets, educational performance review forms, education plans, etc.).
In the wake of COVID-19, educational institutions are facing unparalleled demand for digital solutions – parents, guardians, staff, and third parties have high expectations for convenience and ease-of-use. Luckily, adopting an eSignature solution is simpler and more intuitive than you might think.
Here's how K-12 schools can use Signeasy to quickly complete IEP paperwork online, and easily request signatures from parents or third parties.
Step 1: Download all of the necessary documents to your computer, either as Word or PDF files.
Step 2: Log into your Signeasy account. If you don't have one, you can click here – we offer a 14-day free trial so you can look around, get comfortable, and discover why Signeasy is the leading eSignature provider for educational institutions and SMBs.
Step 3: Click the blue “Start Signing” button in the top left corner of your dashboard, then choose the “Request Signature” option.
Step 4: Upload your documents by dropping them into the box on the left-hand side or clicking the “Upload” button.
Note: If you’re sending the same document out for signature multiple times, as is the case with IEP forms, we recommend creating a template to save time. You can do the same for documents like parental consent forms.
Step 5: Below the upload box, add in as many signers as are required. You can also add a message, and CC other recipients to receive a signed copy of the paperwork.
Step 6: If you would like to annotate the document with fields, click the green “Add Fields” button in the top right corner. Document fields indicate where parties should provide their signature, initials, name, and/or the date, helping reduce errors and omissions during the eSigning process (especially for longer and more complex documents).
If you want to skip this step, click “Send without Fields” – the eSignature request will then be sent off automatically.
Step 7: Use the left hand panel to drag and drop the required fields into the document. If there are multiple signers, you can choose which field applies to which signer. Each person will be assigned a unique color for ease of navigation.
Step 8: When you have entered all of the required fields, click the green “Send” button.
Step 9: Once all parties have signed the document, everyone will receive a finalized copy via email. In the meantime, you will be able to keep track of each pending document’s status using your dashboard, and quickly send reminders to anyone who has not signed yet.
Become a paperless academic institution
It’s never been easier to get an A+.
Fast and simple: Get started within minutes, with no complex setup
Avoid errors: Guide signers through a document by highlighting required fields
Produce legal, secure eSignatures: Signeasy is ESIGN act and eIDAS compliant
Spend less on paper: Save tens of dollars per document
Reduce your carbon footprint: Go paperless, reduce consumption and waste


